Part 1: Configuring your VTEX account
Introduction
To avoid any surprises during the course of this tutorial, let's first set up all the tools you will need to integrate the VTEX Headless CMS with your FastStore project.
First, we will install the VTEX IO CLI. The VTEX IO CLI will help you during your development process by allowing you to perform different actions in the VTEX platform. In the following, we will install and configure the VTEX Headless CMS app in your VTEX account.
Step by step
Step 1 - Setting up the command-line environment
Install the VTEX IO CLI on your machine. Please refer to this document for more information.
Log in to your VTEX account:
- Remember to replace the values between curly brackets according to your scenario.
vtex login {account}
Install the VTEX Headless CMS plugin:
vtex plugins install cms
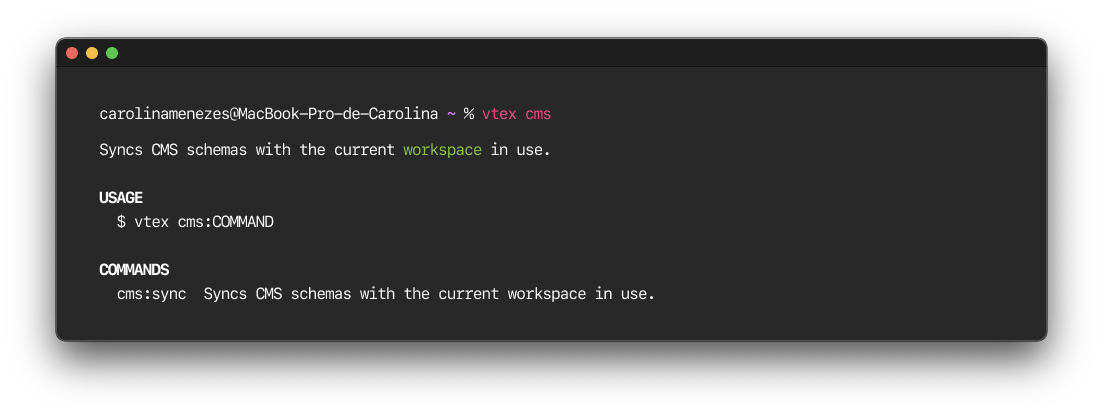
Now, check if the installation of the VTEX Headless CMS plugin was successful by running vtex cms.
caution
If you find any problems while installing the plugin, please refer to our Troubleshooting article.
Step 2 - Installing the Headless CMS app on your VTEX account
Install the VTEX Headless CMS app and all its dependencies in your VTEX account by running the following command:
vtex install vtex.admin-cms@1.x vtex.admin-cms-graphql@0.x vtex.admin-cms-graphql-rc@1.x vtex.admin-releases@0.x vtex.cms-builder-sf-jamstack@1.x
Now you can check the VTEX Headless CMS interface by accessing the VTEX Admin and then going to Store Setup > CMS (Alpha) > Pages (Alpha).
Step 3 - Configuring the Headless CMS
Next, let's configure the URLs of the webhooks used by the VTEX Headless CMS app.
Access the VTEX Admin.
Go to Account Settings > Apps > My apps.
Look for the CMS (alpha) app and click on Settings.
Select Add More.
Fill in the Builder ID field with
faststore.Fill in the Build Webhook URL field with the following value. Replace the values between curly brackets according to your scenario.
https://app.io.vtex.com/vtex.cms-builder-sf-jamstack/v1/{account}/{workspace}/build-releasesinfo
When an editor clicks to publish a page using the VTEX Headless CMS interface, the CMS calls the Build Webhook URL, which changes the status of that page to
publishing. The CMS, then, waits for the content to be built in the background.Now, fill in the Production base URL filed with the following value. Replace the values between curly brackets according to your scenario.
https://{account}.vtex.com/
- Click on Save.

Step 4 - Communicating WebOps updates to the Headless CMS
Now, if you are developing your FastStore project with WebOps and VTEX Headless CMS, you must ensure that WebOps is aware of every CMS update performed via the VTEX Admin. To do so, you must configure the WebOps webhooks responsible for communicating with the VTEX Headless CMS as in the following.
Open your FastStore project in any code editor of your preference.
Create the
cms-webhook-urls.jsonfile in the root directory of your project.Add the webhooks corresponding to your store website as in the following:
cms-webhook-urls.json{
"urls": ["https://{account}.myvtex.com/cms-releases/webhook-releases"]
}caution
If applicable, specify the production workspace you are using to develop your FastStore project in the webhook URL as in the following:
https://{workspace}--{account}.myvtex.com/cms-releases/webhook-releasesOpen a Pull Request including the previous changes.
Merge the Pull Request.
Now you're ready to start defining which Content Types and Sections will be editable via the VTEX Headless CMS. Let's get started!